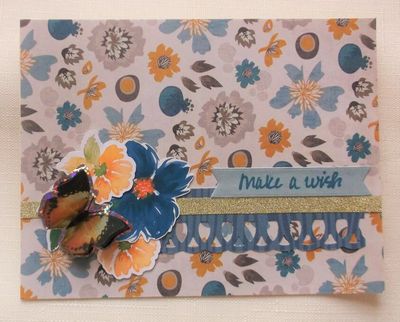
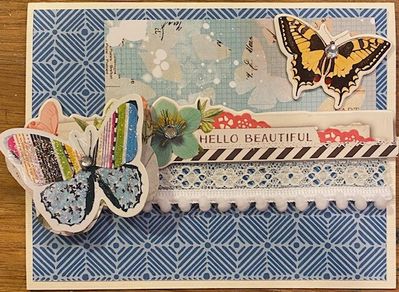
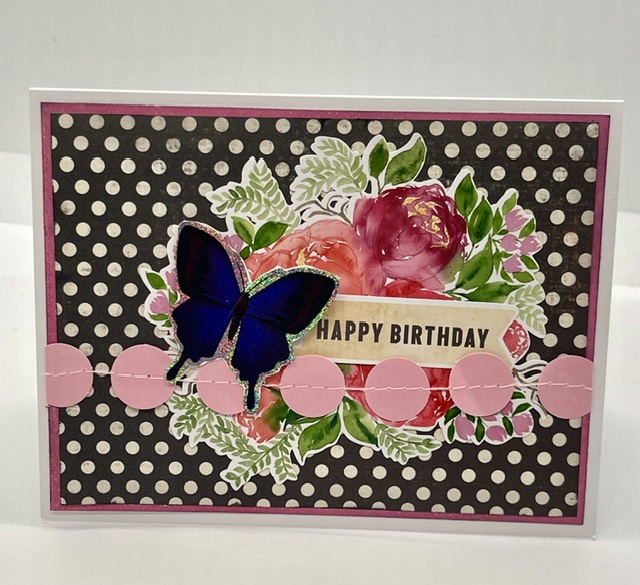
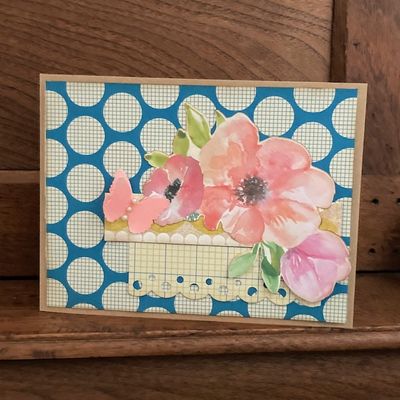
We have gone back into the archives from past iNSD and pulled this 2018 Card Challenge by Barb. She has given you a fun tutorial to make fringe butterflies and we do want you to add a butterfly to your card BUT here is our 2023 twist. You received an envelope of flowers for participating in the Birthday Bash. (If you did not receive one please use any flowers). We would like you to use some of those flowers on your card along with a butterfly---it can be one of your choosing or the tutorial one. Post your cards in this thread. You have until Tuesday, May 9th at 12 noon EST to submit your card. Please remember that in order to be entered for the prize drawing you must complete all 4 challenges.
And here's your first challenge!
From Barb's Original Challenge -
Just in time for Mother's Day, I have a card sketch challenge for you!
Here's the sketch, from CardMaps:
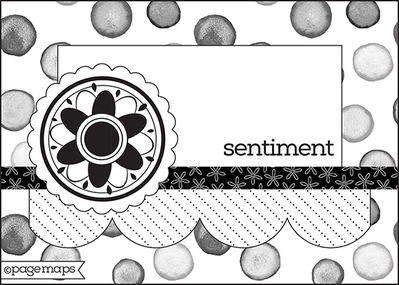
But wait ... there's more! Your completed card needs to include a butterfly that you will make!
I recently came across a YouTube video by Jessica Huffman: https://www.youtube.com/watch?v=AZgqP5ExYeg
Her butterflies are based upon the fringed butterflies in a Maggie Holmes collection by Crate Paper.
Jessica cuts her butterflies freehand starting with a circle, which gives her a butterfly that is shaped much like the Crate Paper ones. I use a butterfly cut file with my Silhouette Cameo. These are both shapes:
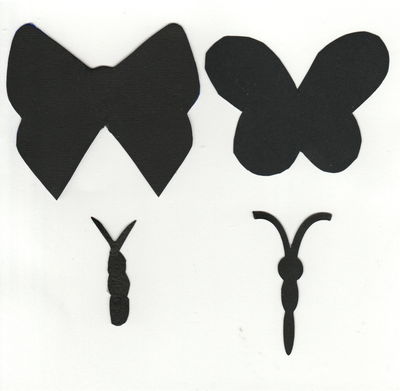
The rest of this tutorial uses my die cut shapes. I've shown two sizes. For EACH butterfly you want to make, you need THREE of the same size butterfly wing shapes in three different colors/patterns, and ONE butterfly body:
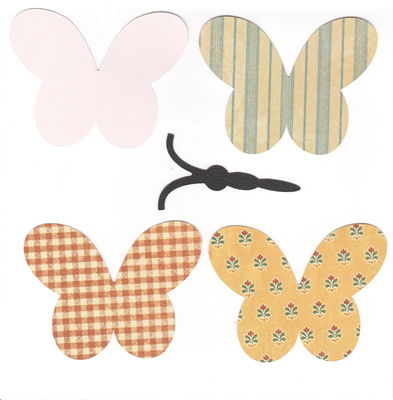
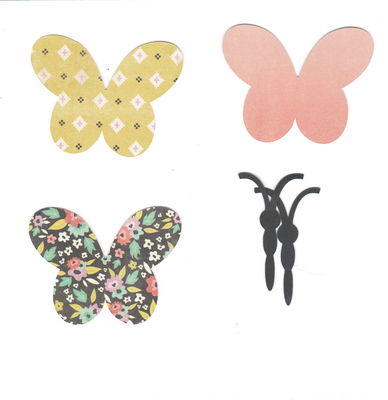
Now, you need to make your layers. On the larger butterfly, I cut an extra wing shape to use as a base. Then I cut the bottom off one piece of patterned paper and glued that bottom part over my base. Then I cut the bottom off a second shape and fringed the edge with my scissors. I glued this middle piece down over the whole butterfly shape and ruffled the fringe a little for extra dimension. Last, I cut the third patterned shape at the V in the wings, again fringing the edge and gluing over the top. Then I added the body.
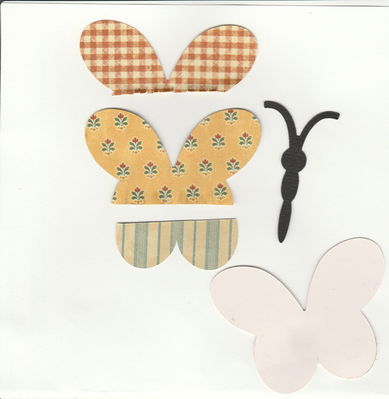
I just used a whole wing shape as the base for the smaller butterfly, then proceeded as above. I only had to cut the middle and top pieces.

These are my finished creations
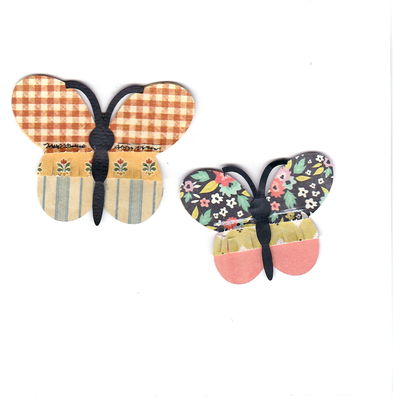
You can further embellish by sewing over the top of the fringe, decorating with glitter, jewels, beads or anything you can imagine.
Please try your hand at making your own butterfly, either by copying and using one of the patterns shown, by following Jessica's circle method or using an electronic or manual die cutter, and then use it on your card. Can't wait to see some butterflies! When you have finished your layout, please post to this thread. You will have until Wednesday 5/10/17 @ 7:00 pm est to post your layout and to be entered into the prize drawing.
(Thank you for making it all the way through this post!)

